Marque & Reprisal Combat, Piracy & Port Assaults
Cannons, escorts, bombardments, marine auto-battler landings, and the standing that decides who fires first.
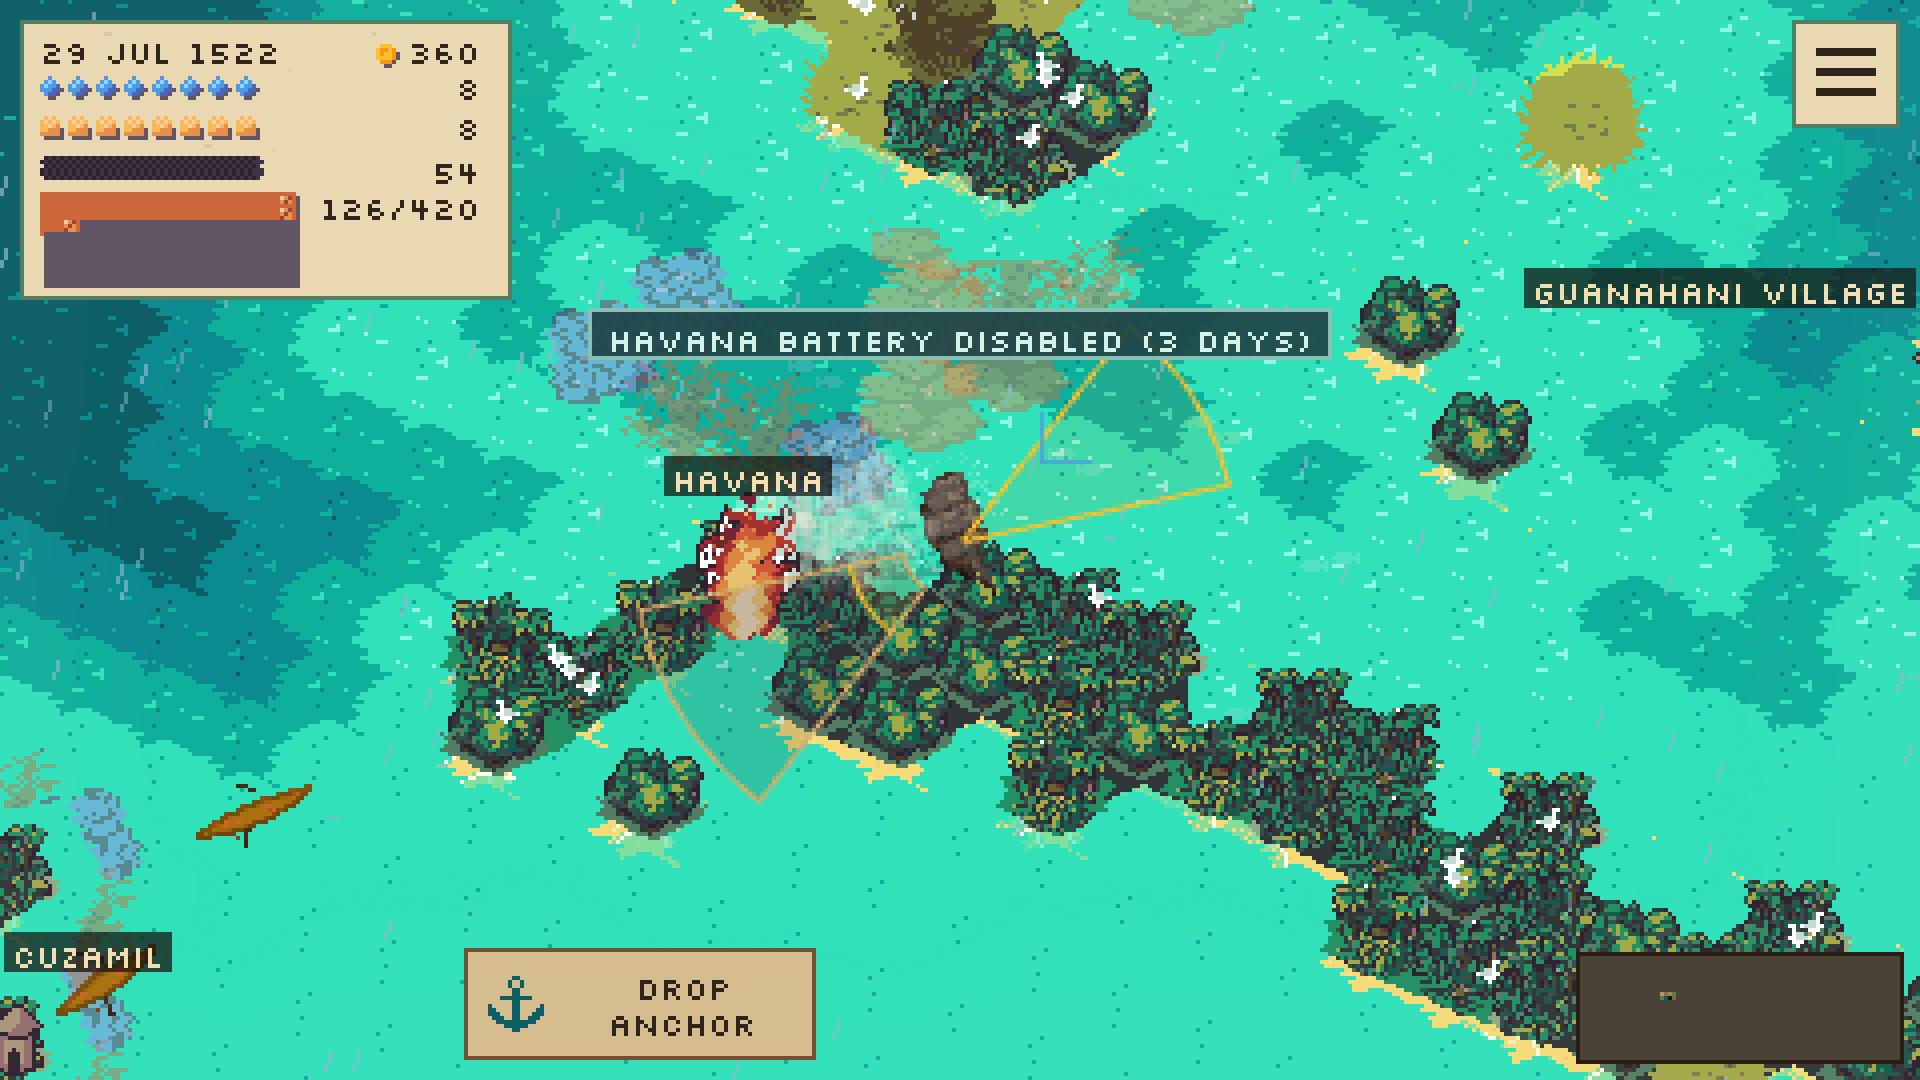
Naval combat in Marque & Reprisal is optional but decisive. You can finish a captain’s goal as a peaceful trader — or rake merchantmen, duel pirates, and bombard ports before sending marines ashore in auto-battler assaults. Death is permanent: a lost fight can end the voyage as surely as a storm. This guide covers broadsides, escorts, standing, piracy choices, and when to run. Brush up on ship handling in Sailing Controls and keep stores honest via Survival so a battle does not strand you hungry afterward.
Read the water: who is hostile?
Hostile vessels show a thin red hull outline; true allies show green. Your active opponents pulse. Colorblind-friendly mode swaps to orange enemies, blue allies, and an exclamation mark; reduced motion keeps emphasis steady without the pulse. Neutral and surrendered ships stay unoutlined. Surrendered hulls remain physical — they block movement and can still take cannon hits, but their crews do not return to the fight.
If a red outline outguns you, leave. A first-voyage coaster is not a warship. Trade another day; return with guns, crew, and friends.
Cannons and broadsides
Ordinary battles teach your bound keyboard or controller inputs on the firing arcs until both sides have fired or combat ends. Aiming cues match the equipped volley: a one-shot cannon shows its centerline rather than a misleading spread wedge; other indicators reflect accuracy bonuses. Deck weapons matter too — bow, crossbow, and matchlock symbols show who can fire from the rail.
Hold a fighting course you can actually sail. A beam reach that keeps your guns bearing beats a panicked spin into irons. Hull strength was buffed in updates, but mass and handling still punish clumsy steering. Practice arcs in the tutorial’s cannon segment before you stake a captain on a live duel.
Escorts and company at sea
With good standing, hail an available armed captain and ask for an escort. Confirm the arrangement before you sail. Escorts defend against shared enemy ships and ports; captains with other duties or damaged hulls may refuse. They bid farewell when their journey ends — or sooner if damage or dwindling provisions force them into port. Agreements survive saving and reloading.
Eligible nearby allies can join fights against shared enemies even when their engagement began before reinforcement was considered. If you hold a commission to take a port, eligible allied warships can help silence the battery while leaving the ground assault to you.
Barter without dropping your guard
Friendly captains may offer cargo-for-cargo barter based on what they carry and the market ahead. That is trade, not surrender — but do not idle beside a red outline while you browse menus. Mission cargo stays protected. Details on markets live in Trade Routes.
Become the pirate — or stay lawful
You can hunt rich merchant ships yourself. Piracy pays in cargo and spite, and it costs standing with wronged nations and ports. Lawful commissions and allied bombardment options dry up if everyone hates you. Decide what kind of captain the goal needs: a debt-payer may want clean markets; a revenge run may accept a black flag. There is no multiplayer mode fleet to hide behind — every reputation hit is yours alone.
Bombard the port, then land marines
With a large enough warship, you can bombard a hostile city to silence shore batteries, then land marines. When it is time to take the port, the crew leaps ashore and fights the garrison in auto-battler combat. You are not micromanaging every cutlass swing; you are bringing enough quality and numbers to win the landing after the guns have done their work.
Allied bombardment support, when available on a commission, helps clear batteries on the approach. They defend themselves en route and leave the ground fight to you once the work is done. Do not start a port assault on a green crew, empty stores, or a hull that cannot survive the battery long enough to land.
Port raids support 1× / 2× / 4× speed so long marine auto-battlers do not stall your session. Use speed to read the fight, not to skip judgment. Watch Estimated victory chance, clearer enemy outlines during assaults, and remember garrisons keep their losses if you withdraw and return. Larger crews scavenge more food after a landing — still restock before the next ocean leg. Practice set-piece combat without risking a captain in Historical Battles; track raid polish in the Patch Log.
Standing is a combat stat
Standing gates escorts, allied fire, port access, and who shoots first. Trade fairly, complete commissions, and avoid needless atrocities if you want doors open. Raid indiscriminately if your goal demands it — but budget for fewer friends and more red outlines. Colonies you help found can shift local politics; factor that into long campaigns.
Ship choice for fighting
Cargo kings die to dedicated warships. Compare combat roles, gun counts, and durability on the Ships Tier List and the Tier List Hub. Oared craft can dictate range in light air; heavy sailers hit harder on a clean broadside. Upgrade when you have a reason and a reserve — not because a pirate embarrassed you once.
When to fight, when to flee
Fight when you outgun or outnumber the target, stores are healthy, and the prize (or the commission) is worth the repair risk.
Flee when outlines are red and larger, your crew is green, lightning is already walking the horizon, or a single lucky hit would strand you far from port.
Negotiate or escort when standing allows company — shared enemies die cheaper with friends.
After the smoke
Repairs, crew replacements, food, and water come before the victory lap. A captured hold means nothing if thirst kills you on the next leg. Fish to top up calories when markets are hostile — Fishing & Whaling. Log patch changes that touch combat in Launch Notes and the Updates hub.
Practice path
- Finish tutorial cannon fire and sailing basics — Getting Started.
- Survive as a trader until you can afford a real gun deck.
- Hail for an escort on a medium-risk hop.
- Take a fair fight against a smaller hostile.
- Only then attempt bombardment and a marine landing on a commissioned port.
Browse the Guides Hub for the full set, keep Demo Tips for safe Mediterranean spars, and bookmark official channels on the Links Hub. Cannons win minutes; standing and stores win voyages.
Frequently Asked Questions
Quick answers for captains planning their next voyage.
How do I capture a port in Marque & Reprisal?
With a large enough warship, bombard the hostile city to silence shore batteries, then land marines. The garrison fight plays out as an auto-battler battle.
Can allied ships help in combat?
Yes. Good standing lets you request escorts that defend against shared enemies. On a port commission, eligible allied warships can help silence batteries while you handle the landing.
How do I tell enemies from allies at sea?
Hostile ships use a thin red outline; allies use green. Active opponents pulse. Colorblind mode uses orange enemies, blue allies, and an exclamation mark.
Is fighting required to win a voyage?
No. Many captains complete their goal through trade, fishing, or exploration. Combat is a tool, not a mandatory campaign path.
What happens if I turn pirate?
You can seize merchant ships for profit, but standing with wronged nations and ports falls. Escorts, allied bombardment, and open markets become harder to keep.