Marque & Reprisal Sailing Controls & Wind
Beam reach, tacking, rowing, shore hauling, and how the HUD reads the wind on keyboard or controller.
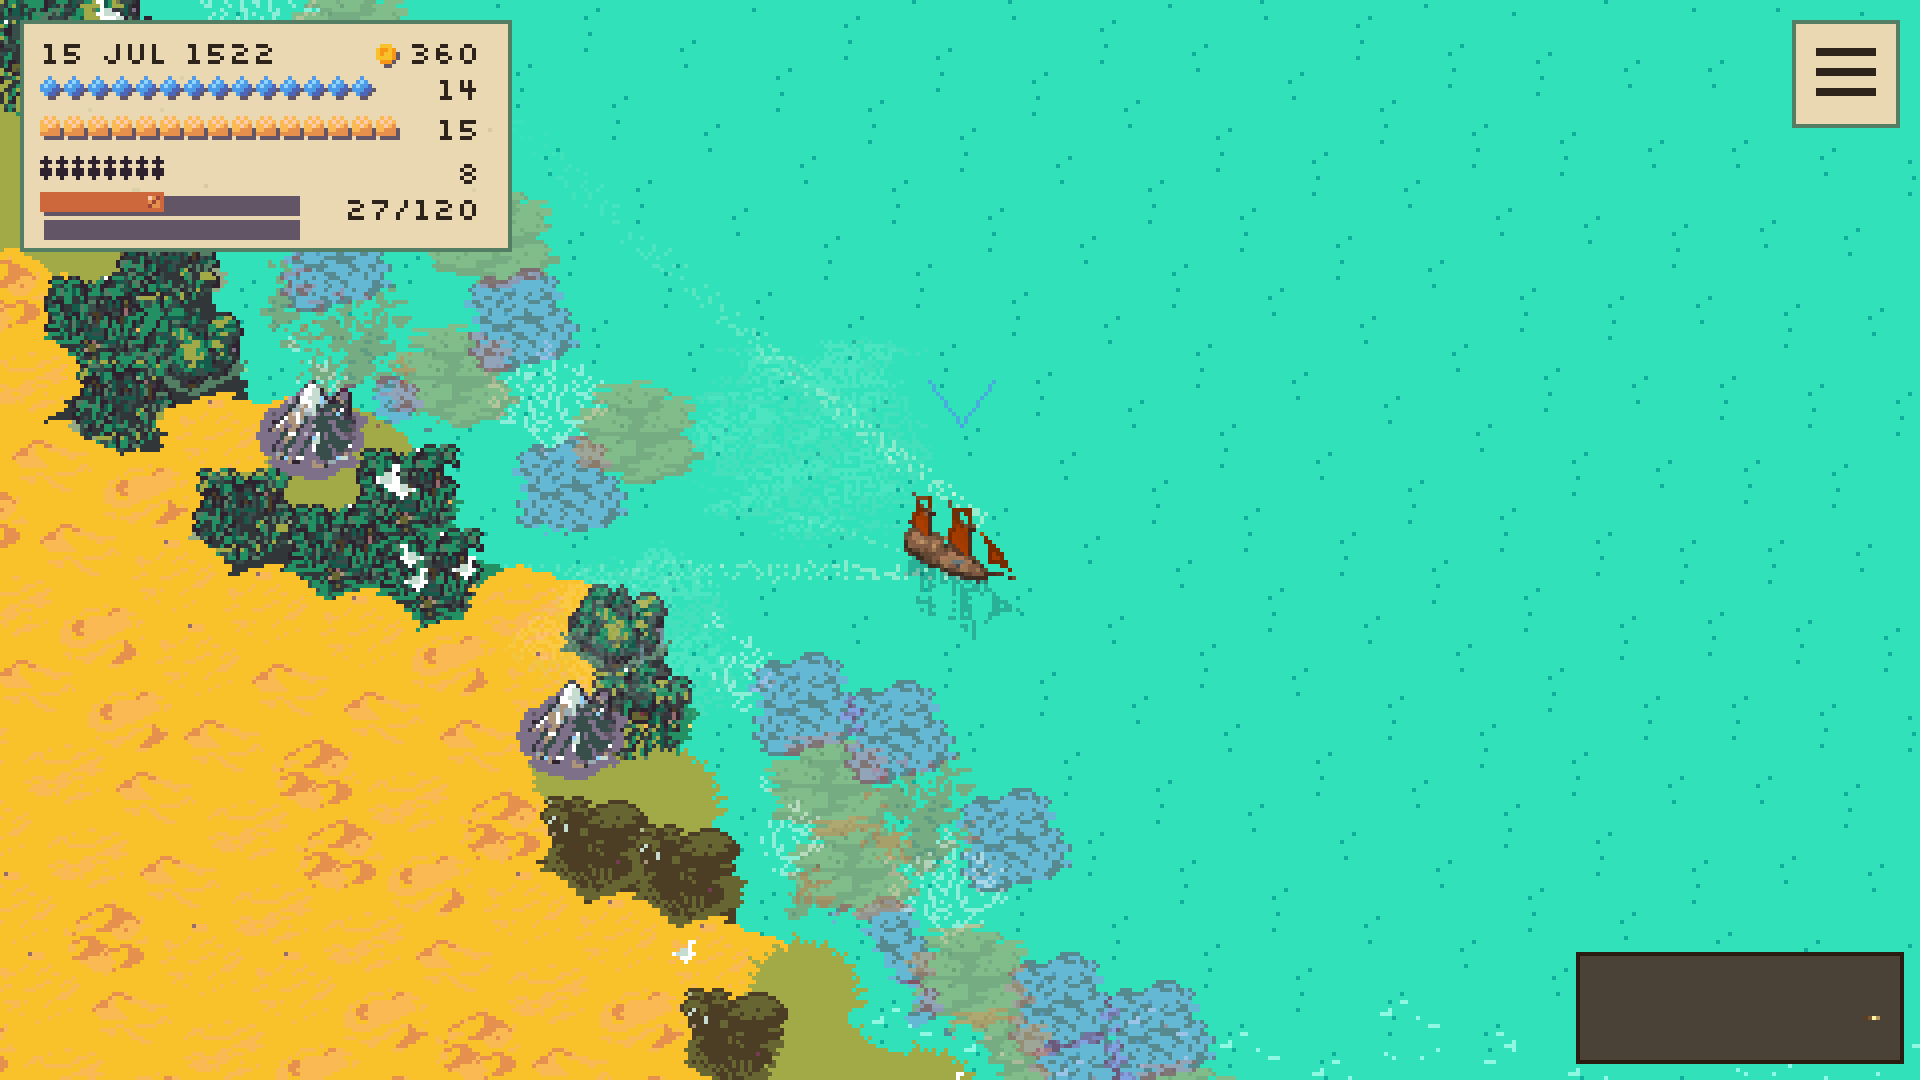
Sailing is the heartbeat of Marque & Reprisal. Markets, whales, and broadsides only matter if you can put the ship where the wind allows. This guide explains how wind angles, points of sail, tacking, rowing, and shore hauling work in the 1522 sandbox — and how to bind them on keyboard or controller. Pair it with Getting Started for voyage habits and Survival for weather discipline.
Read the wind before you steer
The HUD shows your point of sail relative to the true wind. Green marks a healthy beam reach (wind abeam). Red means in irons — bow into the no-go zone, sails luffing, almost no drive. Orange and yellow shades cover the other courses between close-hauled, reaches, and runs. Written names stay on screen so color alone is never required. When sails visibly luff, you are fighting the wind; fix heading or switch to oars.
Treat every departure as a wind check: where is the breeze, which nearby port sits on a friendly angle, and will you need a tack chain or a rowing burst to clear a headland?
Beam reach: the fast default
A beam reach puts the wind roughly 90° off the bow. For most hulls it is the fastest, calmest point of sail — good drive, easier course-keeping, less drama than a dead run or a pinched close-haul. Plan coastal hops so long legs sit near a beam reach when the forecast allows. Broad reaches and runs still move you, but they ask more attention in confused seas. Close-hauled work is possible but slower and more punishing; use it when geography forces you upwind, then free off when you can.
Tacking upwind
No square-rigger or lateen trader sails straight into the wind. To gain ground to windward, tack: turn the bow through the wind from one close-hauled board to the other. Each tack costs speed and time, so chain short boards near coasts rather than one heroic zigzag across open water with empty stores. Watch for the no-go cone — if you pinch too high, you stall in irons. Bear away slightly to rebuild way, then try again.
In rivers and narrow channels, plan tacks early. The tutorial river uses the same geometry as the voyage world, so clearance on inside bends matters. Do not wait until the bank is on your beam.
Rowing and oared ships
Some vessels — notably Mediterranean galleys and other oared craft — can claw to windward or crawl when sails fail. Rowing spends crew stamina. Successfully docking restores rowing stamina through shore leave; being refused entry does not. Check the crew readout for working crew versus bunks so you know who can pull an oar. After a hard pull, favor a port stop before the next forced upwind leg. Ship role tradeoffs are summarized on the Ships Tier List.
Shore hauling
Shore hauling lets the crew warp the hull forward or bring it to a stop along a bank when sails and oars are awkward — docking approaches, tight rivers, or recovering from a bad angle. Hauling can advance or stop you; it will not drag the ship backwards. When hauling is available but unused, tutorial and voyage cues pulse on your current bindings (reduced-motion settings keep the reminder steady without the pulse). Learn the binding in the lesson so muscle memory is ready in a crowded estuary.
Keyboard and controller
Marque & Reprisal supports full controller play (including Xbox controllers) and keyboard. Physical key labels respect your layout across languages. Bind steering, sail/point adjustments, rowing, hauling, fishing, hail, and cannon arcs to controls you can hit under stress. D-pad tab navigation follows menu layout (Up/Down for vertical tabs, Left/Right for horizontal); shoulder shortcuts remain available. Options are reachable from the tutorial pause menu without restarting the lesson.
In your first ordinary cannon fight, bound keys or buttons appear on the firing arcs until both sides have fired or combat ends — useful once Combat & Piracy becomes relevant.
Rivers, lakes, and docking
The Earth map includes navigable rivers and lakes. River width, bends, and collision rules match the open sea simulation, so the same wind and haul habits apply in tighter water. Approach docks with speed under control; click or tap a valid city when in range. Refused entry wastes time and denies the stamina refresh — fix standing, timing, or ship state before forcing the issue.
Practice plan
- Replay the sailing tutorial until beam reach, irons, tacking, rowing, and hauling feel automatic.
- In the Mediterranean demo, run three short coastal hops that demand at least one tack chain.
- Practice a deliberate stop with shore hauling before a busy dock.
- On an oared ship, burn a rowing burst upwind, then dock to confirm stamina recovery.
- Only then attempt longer crossings that mix reaches, tacks, and weather — see Survival.
How sailing feeds every other system
Better wind work means shorter passages, lower food and water burn, and cleaner arrival times for Trade Routes. Fishing casts happen while you sail; whales demand a hull that can chase and survive — Fishing & Whaling. Escorts and bombardment runs fail if you cannot hold a fighting course — Combat & Piracy. Browse the Guides Hub, compare hulls on the Tier List Hub, and keep Demo Tips handy while the Mediterranean is your classroom.
Master the green beam-reach band, respect the red irons warning, and treat every upwind mile as a stores problem as much as a steering problem. The captains who live longest are the ones who sail the wind they have — not the wind they wish for.
Frequently Asked Questions
Quick answers for captains planning their next voyage.
What is the fastest point of sail in Marque & Reprisal?
A beam reach — wind roughly abeam — is the fastest, easiest course for most ships. The HUD marks it in green.
How do I sail upwind?
Tack: turn the bow through the wind in a series of close-hauled boards. Oared ships can also row toward the wind when stamina allows.
What does shore hauling do?
Hauling lets the crew warp the ship forward or stop it along a bank for docking and tight water. It cannot drag the hull backwards.
Does docking affect rowing?
Yes. A successful docking restores rowing stamina through shore leave. Being refused entry does not restore stamina.
Where can I relearn the controls?
The sailing tutorial remains available from the main menu and follows your current keyboard or controller bindings.